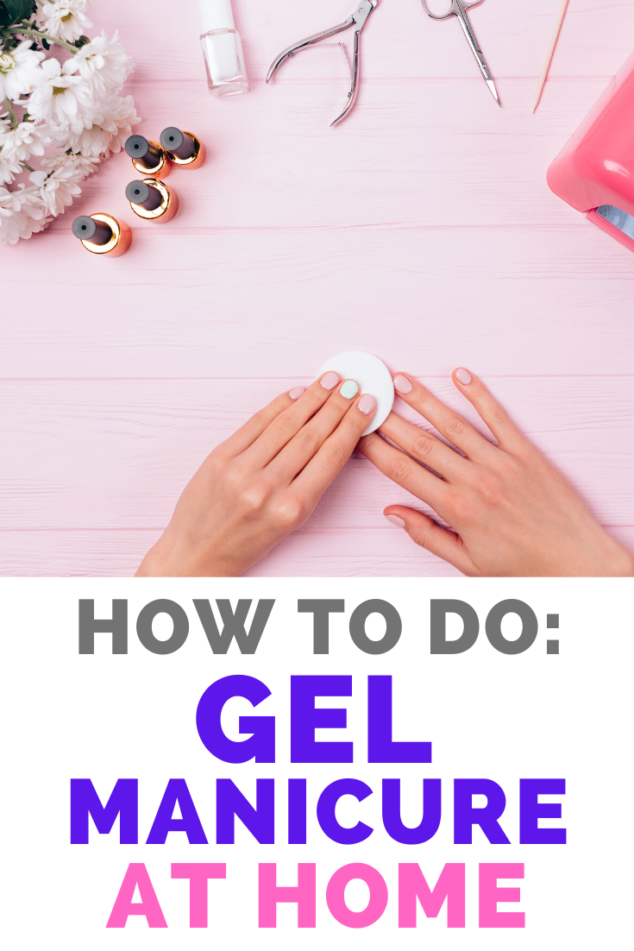
My favorite nail salon officially closed their doors, so it looks like I’m going to be doing a gel manicure at home for the time being. Thankfully I’ve done gel manicures at home in the past, so this is nothing new to me.
I wanted to share some tips and advice as to the best way to get these manicures done at home. Right now – so many of us need to do things ourselves at home, so I hope this helps!
Gel Manicure at Home
Usually when I get my gel manicures I’m spending around $30. It’s $25 for the manicure and I always leave $5 for a tip. When you start doing a DIY gel manicure at home you’ll quickly see just how much money you’re saving. This is one big benefit of doing this at home because it’s a great way to save so extra money each month. I estimate I spend around $50/month.
You’re probably wondering what you need to be able to do a gel manicure at home. I’ll be honest with you, it’s a little bit of an investment (not crazy, I promise!), but it’s worth it in the long run if you keep up with it at home. I have a feeling that there’s going to be a ton of people out there who switch from salon to home nail salon!
OK… I’m sure you’re asking yourself, “What do I need to do gel nails at home?”
Supplies Needed for Gel Nails – Gel Manicure at Home:
- Nail lamp for drying and hardening the polish. I recommend finding one that isn’t too expensive. My suggestion? Try SUNUV 24W UV Light LED Nail Dryer Curing Lamp for Fingernail & Toenail Gels Based Polishes with Sensor for $27.99. It’s a solid price point that I think you will be comfortable with for gel manicures at home.
- Gel nail polish for your gel manicure. I recommend the Gellen brand. To get you started check out this set: Gellen Gel Nail Polish Set – Nude Grays 6 Colors for $16.99.
- Top Coat and Base Coat for your nails. You’re going to need these, too! These are essential. I recommend Gellen No Wipe Top Coat Base Coat for Gel Nail Polish – Long Lasting Nail Gel Manicure High Glossy Finish for $7.99.
- Nail file is super important for you, too. Many of us have these at home already, but if you don’t – here’s a good choice you – grab nail files and nail buffers together. TsMADDTs Professional Manicure Tools Kit for $6.99.
- You want to make sure you have nail soak off clips. These are important when you’re going to be changing your polish. I recommend Nail Polish Remover Clips 30PCS for $6.99.
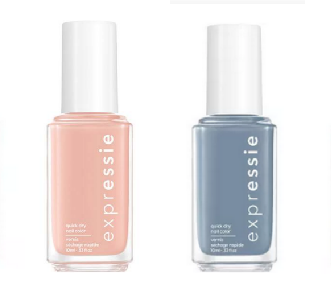
- Acetone nail polish remover (any kind!)
- Cuticle remover and cutter for your gel manicure at home is important, too. If you’re looking for a good option, check out this trimmer for $15.97.
- Nail clipper are imperative, especially if you’re grabbing Cuticle Trimmers. This Nail Clipper is a good one at a great price of $8.99.
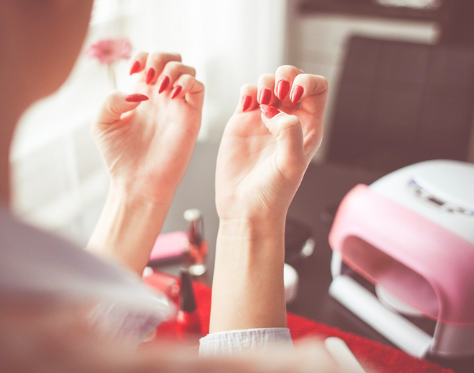
Steps for Doing My Own Get Nails at Home – Gel Manicure at Home:
1. Make sure you’re starting off with clean nails. If you have nail polish already on them, make sure you take it off with some nail polish remover. If you have gel polish on your nails it’s a little more intricate. Grab some cotton balls or cotton pads and soak with the Acetone. Then add the Nail Polish Remover Clips and let them sit.
2. Once you’ve let your nails soak for about 10-15 minutes, take the clips off and start scrapping off with the cuticle remover that came with your trimmer. If you’re having trouble, let the nails soak longer. This shouldn’t be a crazy tough task, so make sure it’s not.
3. Once the polish is off, take the opportunity to cut your nails down to your desired length.
4. File, buff and cut your cuticles. If you see any hangnails cut those, too. Just make sure (as they do at the nail salon) that your nails look clean and perfect for polish.
5. Take your BASE COAT and apply on each nail. Once this is applied pop your nails under the light for about 60 seconds. You want to make sure you get a good coat on each nail and make sure you give it a good dry under the light. Many lights come with a timer, so make sure you keep tabs on that, too.
6. Take your desired gel color and apply a coat. Once each nail has a coat, dry them under the lights for 2 minutes. Make sure you get a solid 2 minutes on each nail.
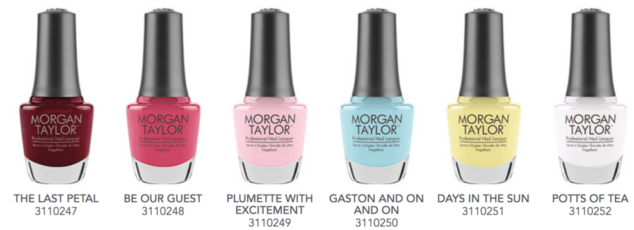
7. Apply another coat and repeat.
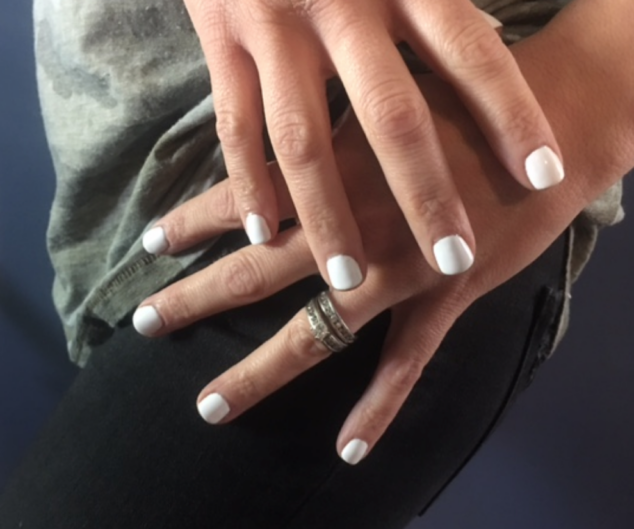
8. Depending upon your color, you might want to do a 3rd coat. I prefer 3 coats when I do my white color. I feel like you get a really good look with 3 coats. This is all up to you and what you prefer.
9. Take your TOP COAT and apply on each nail. Make sure you dry for 60-120 seconds. This is key and your final step for the process.
10. Just like they do at the salon, after your nails have dried with the top coat grab some rubbing alcohol and wipe each nail down. The stickiness will go away after this wipe down!
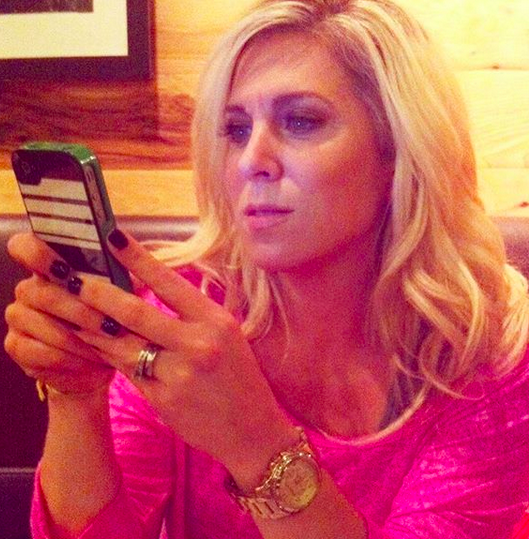
I’m telling you, it’s SUPER EASY gel nails at home tutorial to do this at home. I hope this answers your – Can you do gel manicure at home? – BECAUSE, YES!!! Do you need to get used to it? Yes.
Will one hand be easier than the other? Yes. You can totally tell I’m right handed when I look at my gel manicure at home. You will get better in time! I just love this option right now because it’s important to make sure we’re staying healthy.
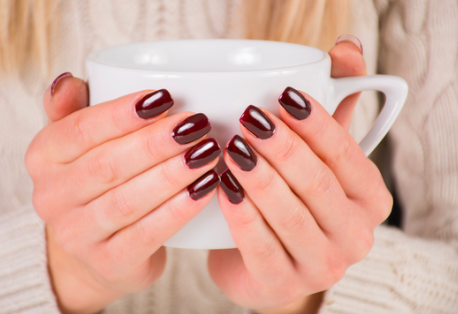
If you’re looking for a pedicure – take all of these steps and just apply to your feet! Easy as can be! Reasons Why I Love my Gel Manicure.
You’re probably doing lots of beauty things at home right now. Make sure you check out my post on How to Cut Hair at Home.
Excited to share with you all about my fashion and beauty loves with you right now through my Facebook page! This has turned into my favorite spot online and I love sharing there every single day!
It’s been an outlet for me to be open and honest about my fashion loves! It’s a great place to learn new things, so I hope you come on over! I’m also going to be starting a kid fashion one soon, too!

Loving this Fashion Over 40 – Daily Dose of Style Facebook Group (that I would LOVE for you to join) and I share trends and styles every single day in there, along with the best sales online for fashion. I fully believe that you can and should be able to look your best without breaking the bank.
You want to feel confident and beautiful and you CAN! I hope my info helps! We have a ton of fashion fun in there! And you don’t need to be 40 years old!!!!!!!

HEAD ON OVER AND JOIN US HERE!!! I also share beauty tips there, too. Love your support and let me know what it is you’re looking for, too!
Make sure you share with me if there’s something you love and I missed it on the blog! See my last post on my Knot Bun Tutorial! I’m all about sharing everything I can when it comes to fashion and beauty! Hope these posts help you out!
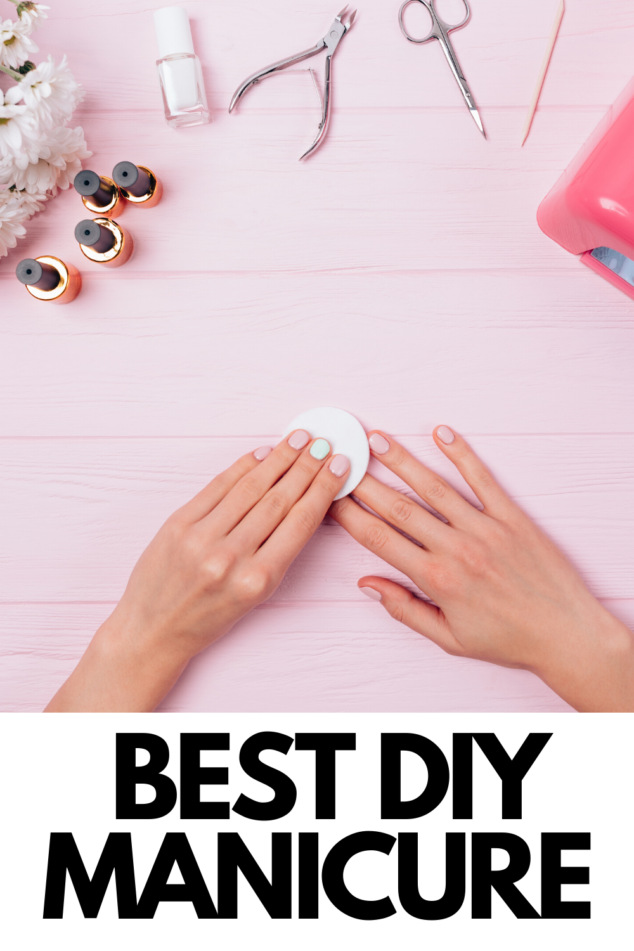






I didn’t even know I could do this at home!!!
That is an awesome idea! I love gel, but I never have time to go get them done. What a great option for an at-home manicure!